
In the last post, I walked you through how a camera exposes a picture. In this post, I will go through the three controls of exposure: shutter speed, aperture, and ISO.
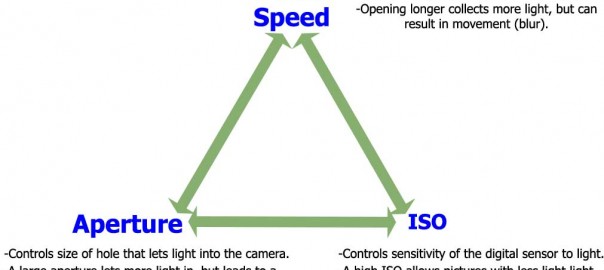
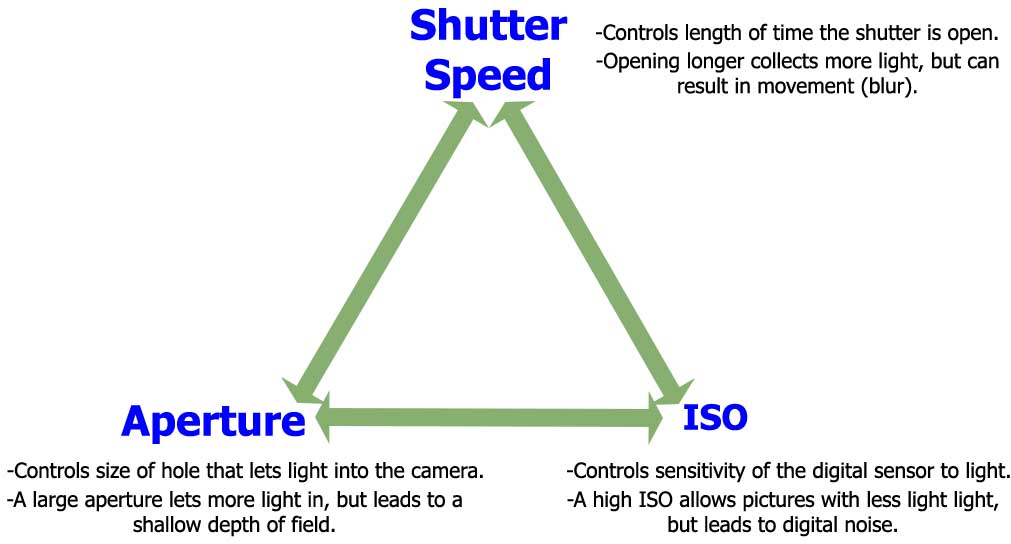
The graphic immediately below should give you the gist of it, and there is more explanation below. Once you know how each of them works, you will be well on your way to mastering your camera.
1. Shutter speed.
When you press the shutter button in an automatic mode, the camera determines how much light is needed and sets a shutter speed to get it. If there is a lot of light available, like on a bright sunny day, the camera will set a fast shutter speed (it can be up to 1/4000 of a second on most cameras).
But if there is not much light available to your camera, like at twilight or when shooting indoors, the camera may have to hold the shutter open a long time to capture enough light for a proper exposure. By “a long time” I mean something typically like 1/16 – 1/2 of a second, although the camera may actually hold the shutter open a few seconds (most cameras can keep the shutter open as long as 30 seconds).
The problem is that everybody moves slightly during a “long” shutter speed. So your first challenge as a photographer is to make sure that your shutter speed is fast enough that there is not blur from you moving the camera while the shutter is open. (For now, just keep the shutter speed above 1/60 of a second and you should be okay.)
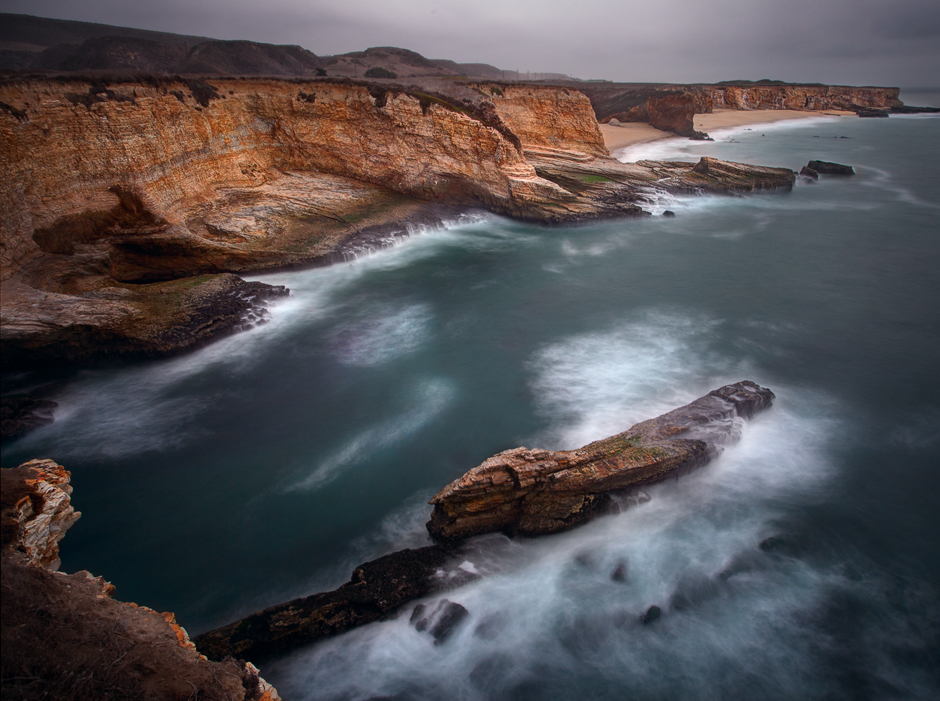
Once you have that down, you can begin to use shutter speed creatively. For example, you will want to make sure your camera uses a really fast shutter speed to “stop the action” in sports shots. On the other hand, you might want a ridiculously slow shutter speed to let moving water blur. Shutter speed ultimately becomes less of a problem to solve and more of a creative choice.
2. Aperture size.
Unlike the shutter, the aperture is always open. But you can control the size of the aperture.
Why would you want to change the size of the aperture? You might want to make the aperture larger to let more light into the camera. If you double the size of the aperture, you double the amount of light that is allowed into the camera for a given shutter speed. So in a low-light situation, this gives you a way to add light to your exposure without resorting to a longer shutter speed.
There is a cost to this though, and it relates to what’s called the “depth of field” of your pictures. I will explain this below, but the upshot is: when you increase the size of the aperture, you decrease the depth of field, and vice versa.
Here’s the quick explanation of “depth of field.” Let’s start with what you already know. You already generally know how to put a thing “in focus.” You also probably intuitively know that the further away other stuff is from the thing that is in focus, the more that other stuff is out of focus or blurry. Sometimes the falloff between “in focus” and “out of focus” is very quick and dramatic. Sometimes it is not, and it seems that the whole picture is in focus. The “depth of field” refers to how much of the rest of the picture (besides what you are focusing on) is also reasonably sharp. The aperture size is the driving force behind this.
Here are a couple of quick examples to drive this home
-
Portraits (typically shallow depth of field): We have all seen portraits where the background of the subject is completely blurred out. This is referred to as a “shallow” depth of field, and it is created primarily by using a large aperture.
-
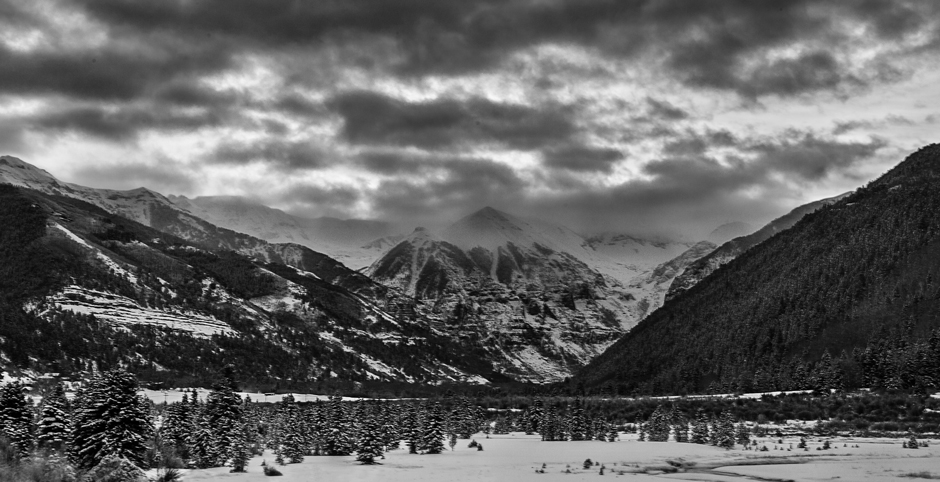
Landscapes (typically large or wide depth of field): Conversely, we have also seen landscapes where everything seems to be in focus. This is referred to as a “large” or “wide” depth of field, and is primarily created by having a small aperture.
Again, try to remember that when you increase the size of the aperture, you decrease the depth of field, and vice versa.
3. ISO
As mentioned previously, when the shutter is open, light reflected through the lens is reflected onto the digital sensor to create an image. But did you know that you can affect the sensitivity of the digital sensor to that light? You can. The scale on which that sensitivity is measured is referred to as “ISO.”
When would you want to increase the ISO? Usually in low-light situations where you are trying to get an exposure without slowing down your shutter speed (to avoid blur) or opening up your aperture (and thereby decreasing your depth of field). Increasing your ISO lets you increase your exposure without changing these other settings. That can really increase your flexibility. One of the awesome things about modern digital cameras is they can go up to ridiculously high ISO values, so this comes into play a lot.
But there is no free lunch. Increasing the ISO creates artifacts in your picture referred to as “digital noise.” These are random little discolored specs throughout your picture. At low ISO’s, there is usually very little digital noise. The amount of noise increases as you increase the ISO though, and at really high ISO ranges the digital noise will actually ruin your picture.
The trick is to keep the ISO high enough that you have a good exposure without a slow shutter speed or overly wide aperture, while at the same time keeping your ISO low enough to avoid digital noise. It is a balancing act.
Taking Control of Exposure
When you master these three controls – shutter speed, aperture, and ISO – you master your camera. It is just that simple. Really, you could make an argument that everything else on your camera besides these 3 controls are just bells and whistles.
This is why experts are always so keen to get beginners out of Auto mode. But you don’t have to go into Manual mode. Start with Program mode, which will allow you to make changes to the 3 exposure controls with the camera making offsetting adjustments to make sure your exposure is right every time.
In any case, just make sure you understand these controls and try to use them to control exposure. You will find that it really helps you take better pictures.