
We all have trouble evaluating our own work as others will see it. As we sit at our computers, we get to the point where we cannot see the forest for the trees. Not only that, but if we do manage to decide what will attract someone’s eye, we need to decide what to do about it.
In this article I want to give you some steps you can take to better evaluate how others will see your photos and some things you can do to attract their eyes to the right places.

1. You Have a Split Second to Impress
It is amazing how fast we make decisions about photographs. It literally happens in a split-second. We, as photographers, need to understand that we only have that fraction of a second to impress the viewer. Otherwise they have moved on. That is especially true when we face a screen full of thumbnails.
One of the reasons why photographers are always preaching about “simplicity” in photos is because of the importance of catching someone’s eye immediately. A busy photo just will not look good in the initial glance. A simple photo will maximize attraction.

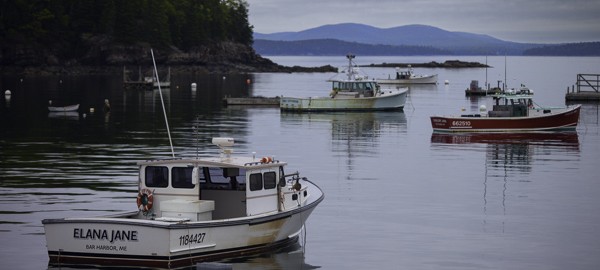
This tendency is not only true of thumbnails on a computer screen, but prints as well. There have been studies that measured the entry and exit times of people in photography exhibitions. The average time spent per photo was about 10 seconds. And that is for masterpieces in a museum that people drove to go see. If people don’t linger over masterpieces, imagine the time they are going to give your photo.
So you need to consider that split second decision in your own work. How? One way is to force yourself to look at your photograph for just a split second. Turn away from your screen. Now turn to look at it and allow yourself to register it very quickly. What is your first impression?
Another way is to leave the picture up on your monitor and walk away for a second. Turn around and view it from across the room. Or go into the kitchen to refill your coffee, and then register the first thing you think when you walk back in the room and see the photo. These will help you take a “fresh look” at that photo you have been editing.

2. Consider the Route of the Eyes
Once you’ve got someone to give your photo more than the split-second initial look, you’ve got to consider what you want their eyes to do next. This is why leading lines and other compositional elements are so important.

Take a look at photos you love and consider how your eye moves around the frame. Do you gravitate toward certain movements? People differ, but I have personally found that many of my favorite photos start with the center of interest in the lower left quadant and move in a counter-clockwise rotation from there.
Once you determine how you want the eye to move around your picture, how do you do that? The primary way is through brightness and darkness. Our eyes are attracted to brightness, so make the path a little lighter, or make other parts a little darker.
The eye is also attracted by sharpness and contrast. You can add selective contrast and/or sharpening to parts of your picture to guide the eyes of the viewer. You can also add a slight blur to unimportant parts.
3. Reward the Viewer
Once you have held the viewer’s attention for second or two, you need to reward them for hanging around. That is in the details.
Frankly, this is what we spend most of our time on already. We make sure the textures are just right. We shade things a touch. We worry about color hues and saturation. Just keep doing what you are doing here.
4. View per the Format
Next, you need to consider how your viewer will see your photo.
For example, will your photo be one of many thumbnails that the viewer will be looking at on Flickr or 500px? Or will your photo be an enormous print? Or something in between?
The size often matters to how your photo is registered. Some pictures are striking as thumbnails, but when you get them on your screen you are unimpressed. Other photos look great blown up, but cannot get a second look as a small thumbnail.
Also, consider that many displays will force a crop on you. The thumbnails on 500px, which is how most users of that site will see of your photo, will not allow for long or tall photos. Instagram actually forces your photo into a square format. So consider how the picture will ultimately be seen before it gets there.
5. Let it Hang Around
We live in an era where we demand instant gratification. If we’ve got a good photo, we want it up right now for all to see.
Many times, if you immediately publish a photo to your website or social media, you will later wish you hadn’t. You will see things you wish you had done differently. We always seem to go too far with an edit, or not far enough with something, on the first try.
If you leave a photo hanging around for a few days, you will often go back and make some changes. So give yourself some time with your photo. If possible, print it out and leave it laying around or hanging up for a few days. Note the things you’d like to see done differently. Then go make the changes and now you’ve got a final version ready for viewing.
Good advice and points to remember.
Thanks! Glad you liked it.