

Most people are using Lightroom to edit their photos at this point. We’ve also seen the rise of non-Adobe products like Luminar, Capture One, and other alternatives. These will all do much of what we all used to use Photoshop for, and in many cases they are all the photographer really needs to dramatically improve their photos.
That said, Photoshop is still the most powerful post-processing software on the planet. But with that power comes an obtuse interface and a steep learning curve. It took me a few years to even feel marginally proficient in Photoshop (and after many more years I’m still learning). So is learning Photoshop worth it? At this point, can you avoid the difficulties with it and just do all your editing in Lightroom (or other software, but from now on I’ll just say Lightroom in the interest of brevity)?
I think you will find that, while Lightroom does most of what you need, it will leave you wanting in a few areas. There are things you can do in Photoshop that you just cannot do elsewhere, and there are things that work better in Photoshop than in Lightroom. The number of such things is limited, and that’s good news for you. At this point, I believe you could limit your learning of Photoshop to discrete areas. In other words, you don’t have to dive headlong into Photoshop and try to learn everything. You have Lightroom now – and most of your editing will get done there. You just need to learn the discrete things that Photoshop does better or that Lightroom won’t do.
In this article, I’m going to point you to the areas that I use Photoshop for. That way you can focus on learning these areas, and ignoring the rest. For most people, this will be all you ever need.
1. Healing and Cloning
Lightroom’s tool for cloning and healing just plain sucks. They call it the “Spot Removal Tool” and that is actually an apt name because that is all it is good for. You can use it to remove tiny spots from your pictures, but for anything beyond that it is useless.
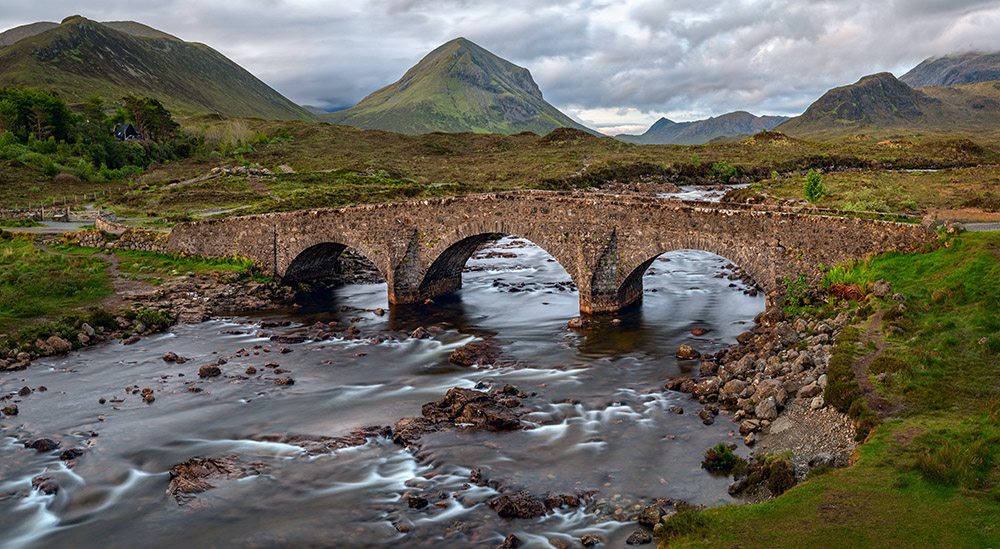
Conversely, Photoshop’s healing and cloning tools are nothing short of incredible (it is amazing the Photoshop and Lightroom tools are made by the same company!). If you aren’t already familiar with these tools in Photoshop, start with the Spot Healing Brush. It is designed to remove spots and other small unwanted items from your pictures. Just select the tool and make sure you have selected “Content Aware” at the top. Then just click around and remove unwanted items from your picture. It is like magic. It works so well that I’ve been using it for larger and larger items. Play with it and you will be amazed.
While the Spot Healing Brush is the automatic process, Photoshop also has a fully manual process where you designate what pixels to replace with what pixels. It is called the Clone Stamp tool, and it lives just under the Spot Healing Brush tool. To use this tool, you start with your cursor above the area you want to replace, then you Alt-click on an another area in your picture where you want to take pixels from, and then you go back and paint over the original area. This works great when the Spot Healing Brush isn’t getting the job done for you. It takes a little practice to get right. To get you started, check out this article that shows you how to use it.
[button link=”https://digital-photography-school.com/12-tips-for-mastering-the-clone-stamp-tool-in-photoshop/”]View Tips on Using Clone Stamp Tool[/button]
2. Transform Tools
Lightroom actually has pretty good transform tools. These are tools you can use to straighten your picture, or fix vertical distortion (such as converging buildings), and other distortions. They are located near the bottom of the column of tools in the Develop module, although I have moved them up in my interface because I like to do any transform adjustments first.
While Lightroom’s tools are pretty good, they don’t hold a candle to Photoshop’s transform tools. If you aren’t familiar with these, focus your energies on two of them in particular: the Distort tool and the Warp tool. To use them, start by selecting the part of the picture you want to change. Usually this is the whole picture, and that is easily accomplished by pressing Ctrl+A.
When you open up the Distort tool (Edit > Transform > Distort), Photoshop will add little boxes on the corners and middle of each edge of the picture. What you do is grab them and drag them around to change the picture. This works great for basic leveling and perspective changes.
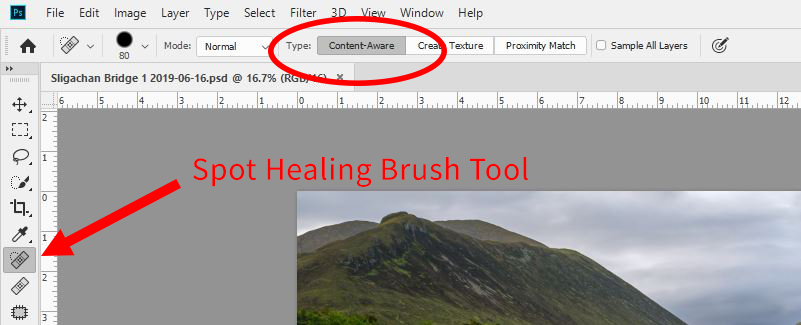
For more in-depth or sophisticated changes, check out the Warp tool (Edit > Transform > Warp). This is similar to the Distort tool in that it will add little boxes at various points in your picture that you will drag around to change things. The difference is that the Warp tool gives you additional points on the edges and in the middle of your picture that you can use for additional control. This puts you in complete control of the shape of your picture. As good as Lightroom’s Transform tools are, they cannot hold a candle to this power.
3. Curves Adjustment Layers
Curves Adjustment Layers are the most powerful post-processing tool in existence. I use them all the time, and most serious photographers I know do as well. Seriously, if Photoshop consisted of nothing but Curves Adjustment Layers, it would still be worth the cost. They give you unparalleled control over tones, contrast, and color.
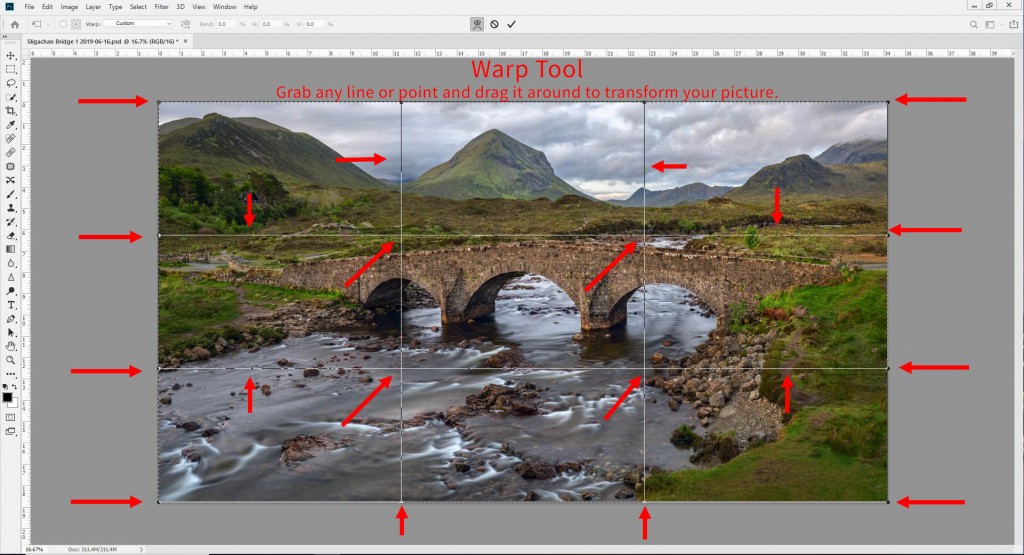
To use a Curves Adjustment Layer, just click on the icon in the layers palette (or Layer > New Adjustment Layer > Curves). You will then see a histogram with a diagonal line running through it. You use the tool by dragging the line up and down and adding points to it. Just remember that dragging the line up brightens things and dragging it down darkens things. Mastering curves might require its own course, but you can get the gist of it by checking out this article.
[button link=”http://www.outdoorphotoacademy.com/getting-started-using-curves-adjustment-layers-photoshop/”]Tips on Getting Started with Curves[/button]
Beyond simply pulling the line up and down, you can also use curves on parts of your picture by taking advantage of the masking feature that comes with it (see the white box that appeared on the layer when you created it). You can use it to brighten and darken discrete portions of your picture. In addition, you can steepen the slope of the curve (or create what is called an “S-Curve”) to increase contrast. You can also go into the color channels to affect colors. It is not my intent to overwhelm you here, but just to give you an idea of the power of this one tool. Nothing in any other software compares with it.
4. LAB Color
As an offshoot of the Curves Adjustment Layer, I also want to address the power of Photoshop over colors. Lightroom has a lot of great tools for manipulating colors, and in many ways these mirror what you have in Photoshop. Of course, you have layers and masking in Photoshop, which adds power to these tools.
Let me give you an example of something you can do in Photoshop that you absolutely cannot do in Lightroom. It is color separation. To do that, you convert your photo to a different color space called the LAB color space, then you create a Curves Adjustment Layer. The color channels in LAB are the A and B channels, so you go into those and pull in the endpoints. Sound complicated? It isn’t. Check out this article, which will walk you through it.
This is, without a doubt, the most powerful color move there is. Lightroom has no LAB color space, and there is nothing even remotely similar. You need Photoshop for this.
[button link=”https://digital-photography-school.com/how-to-use-lab-color-in-photoshop-to-add-punch-to-your-images/”]Tips for Getting Started with LAB[/button]
5. Plug-Ins
It used to be that Photoshop was the only game in town. As a result, many other software developers created their photo editing applications to work within Photoshop. In other words, you would install the application, but to use it you would go into Photoshop and then the other software would be used within the Photoshop interface. There are still many software applications that work this way (Nik, On One, Topaz, etc.). They typically specialize in doing one thing but doing it extremely well. Examples are sharpening, noise reduction, and enlargements. These applications are referred to as plug-ins.
With the rise of Lightroom, many plug-ins now work within it. However, even when that is the case, it isn’t as good. Part of the power of these plug-ins is using them as layers in Photoshop. A good example is something I use a lot, which is the Clarity plug-in from Topaz. Often the effect from this application is something I want to add only to discrete parts of my picture. Or perhaps I want to add it about 30% in one part of the picture, have it apply 100% to another part, but then not apply at all to yet another part. Applying this application on a new layer and using a layer mask and my brush tool, I can apply it however and wherever I want.
Parting Words
Of course, these aren’t the only areas you’ll use Photoshop, and you may end up using Photoshop much differently than I do. But these are good areas to focus your energies. They are areas where Photoshop excels, or does something that Lightroom doesn’t do. Learning these areas will get you familiar with Photoshop overall, so that when you want to go do other things you’ll be comfortable there. You may use these as a launching point to dive in. Or these areas may be all you need.