
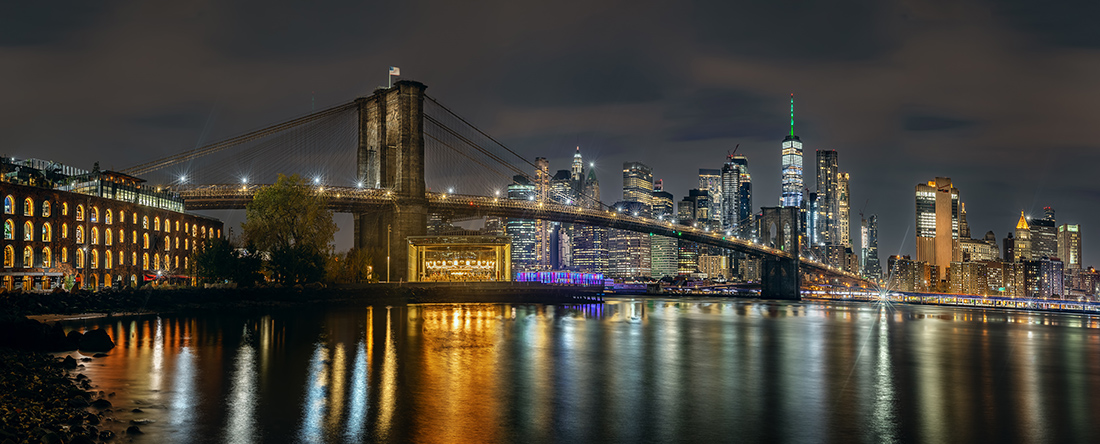
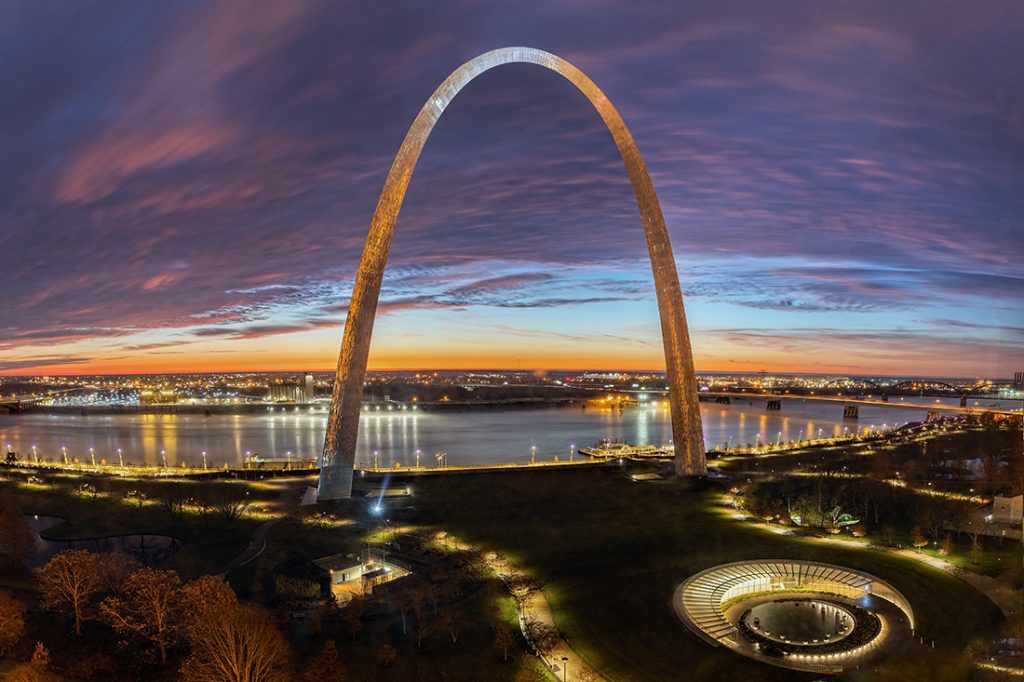
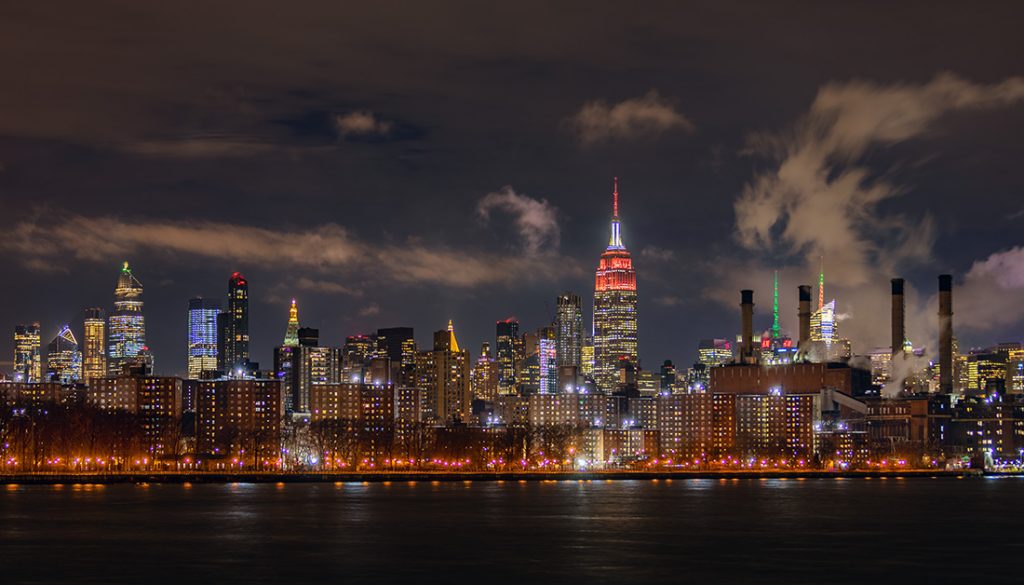
Everyone wants to make big prints, and for the last few years that is something I have been doing a lot of. I have been making aluminum prints to display at art fairs that are, at a minimum, 36 inches long, going up to about 72 inches long (although I have gone to 96 inches long). Prints like this – especially when they have high detail – tend to amaze people, and at art fairs I get asked about 50 times a day how I do it.
I don’t have a good answer for them. It isn’t that I don’t know the answer – of course I do, I am the one creating them – it is that they probably wouldn’t understand it. They don’t know about cameras or file types and they don’t have a clue about Photoshop. But you, my photographer friend, know about that stuff, so I can tell you. And that’s what I’m going to do here.
Most people expect to hear that there is super-expensive gear involved. There isn’t. You can use an entry-level DSLR and you are at no appreciable disadvantage to someone using gear that costs many times as much as yours. So there is no reason for you not to get started. Let’s roll.
Shoot in RAW (Do We Even Need to Talk About That?)
At the risk of stating the obvious, let me start by stating that you need to be shooting raw files. If you are already doing that, you might pick up a few things by reading this, but feel free to skip to the next section.
If you are new to this sport, then let me tell you what that means. Creating raw files means your camera is going to gather the data from the image sensor and tie a bow around it and give it to you – with no modifications. If you aren’t creating raw files, then your camera is creating a JPG file. That means the camera is greatly reducing the file size and discarding data.
To give you an idea of the impact, if you create a raw file from a standard DSLR, the file size will be about 20-25 megabytes. On the other hand, if you allow the camera to create a JPG it will only be about 7-10 megabytes. Having a file size that much smaller has certain consequences. Some big ones are decreases in highlight and shadow detail. There will also be less colors available. Moreover, if you allow the file to be converted to a JPG, the camera manufacturer will also take that opportunity to add saturation, sharpness, and other modifications to the file, which you’d be better off adding yourself later.
More experienced photographers hear this all the time. If you have been engaged in photography for any appreciable length of time then you have doubtlessly been told a hundred times about shooting raw files. But what does it really mean?
The first thing to note is that your camera is likely capable of creating 12-14 bit files. JPGs are 8-bit files though, which results in less colors. JPGs still give you thousands and thousands of colors, so it isn’t like entire color ranges are missing. But what happens is that larger bit files, which have many times more colors, provide smaller and smaller transitions between colors. That results in smoother transitions, which at the darker end of the color spectrum is a big deal. Otherwise, there are harsher transitions and even the dreaded “banding,” which is actual streaks in your picture between colors.
The biggest impact of raw files is a greater range of tones between pure white and black, referred to as the dynamic range. You almost never want pure white or black areas in your pictures, and raw files hold detail in these areas much better than JPGs.
Just make the switch. It is a simple camera menu function, and the image will look the same in the LCD of your camera. The files are bigger, but data is cheap these days, and even a moderate sized memory card will hold thousands of raw files. There is no reason not to.
Panoramas
Now let’s get into improving your picture. The first thing you probably think about when considering a big print is resolution, and that’s what we are going to address first. This starts in the shooting phase, so this is something you are going to do as you are taking the picture (not later in post).
You are likely familiar with the concept of a panorama. These are typically long horizontal pictures of a scene, created by combining pictures. You start on one side of the scene, take a picture, and then progressively move toward the other side, taking pictures as you go, overlapping by about a third. Later, you will combine them to create one picture (don’t worry, the process for doing so is easy).
Why should this process be reserved for creating panoramas of scenes? What I suggest to you is that, when you see a picture you like, instead of just taking one picture, you instead zoom in and then create a series of pictures of that same scene. That way you can combine them later and create a larger file.
Before talking about this further, let me say that I wouldn’t expect you to do this for every shot you are taking. And, of course, there will be shots where you cannot do so (with moving subjects and the like). But where you have a shot lined up that you like, and perhaps even think it will be something special, then you just take several zoomed-in, overlapping shots of the same scene.
Simple math will show you the power of this technique. Entry-level DSLR cameras are now 24 megapixels, which is 6000 pixels wide by 4000 pixels tall. If you take a standard picture, and print it at 300 pixels per inch, then you can create a print that is 20 inches long with no enlargement. Not bad. But now, instead, let’s say you shot the same scene in 6 overlapping pictures. That would be 36000 pixels wide, but we’ll reduce it by 1/3 to account for overlap, so it is 24,000 pixels wide. You can now create a 300 ppi print that is 80 inches long with no enlargement. Of course, there may be cropping and other considerations, so this might end up being less, but I think you get the idea. You can create huge files with your standard DSLR or mirrorless camera.
Now let’s compare what we just did to the resolution you get in super-expensive medium format cameras. A $48,000 Hasselblad medium format camera is 11,6000 pixels across. Our little example is over twice that, and there is no reason you couldn’t make it even larger. There are certainly other factors making medium format cameras special, and we’ll address some of them later. I’m not suggesting that we can exceed medium format cameras in all respects, but when it comes to resolution we definitely can.
You don’t need to do anything special to create panoramas either. You can buy special brackets to put on your tripod so that your lens swings on its nodal point, but it is all a pain to use and you don’t need any of it. I routinely create panoramas while hand-holding my camera. Hell, I routinely create panoramas with my drone. You don’t need to go through special effort (but you can if you want to).
Just move from one side to the other (or up and down). You can even create multiple rows of shots. We’ll talk more about combining them later (but don’t worry, it is easy).

Bracketing
The previous step – creating a panorama – was all about widening your file so it is much larger. I think of this next step as deepening the file to improve the quality.
Instead of just taking one shot for each part of your panorama, take a bracket. For those that are unfamiliar with this process, you set the camera to take a series of photos at different exposure levels when you trigger the shutter. You take a normally exposed picture, then an underexposed picture to capture the highlights, then an overexposed picture to capture the shadows. Later, you can blend these together (either manually or automatically, and we will do it automatically).
For now, just set up the bracket. Your camera may do 5-shot brackets or 7-shot brackets, and those are fine too (but usually not necessary). For 3-shot brackets I usually set the shots 2 stops apart. For 5 and 7-shot brackets I usually set them 1 stop apart.
Now, when you move side to size (or up and down) taking your panorama, just run the complete bracket for each shot. If you are hand-holding, be sure to hold the camera as steady as you can during the shots. If you are using a tripod, you just loosen the tripod head, move it slightly, and re-tighten in the new position. In any case the usual rule about including a 1/3 overlap applies.
Once you have taken your shots, we are done in the field, and it is time to get to work in combining our pictures to create your super-file.
Combining Your Photos
Before we get into combining the files, let’s pause a moment to think about what we are starting the editing process with. Let’s just say you took a 5 shot wide panorama using a 5-shot bracket. You have 25 files. Normally, you would have 1 file. How can the amount of information you have to work with not be way greater?
Looking at this a little deeper, let’s say we used a 24-megapixel entry-level DSLR to capture our shots. And let’s say we overlapped by a third. Instead of a shot that is 6000 pixels long, we now have one that is about 24,000 pixels long (after accounting for overlapping and cropping). Since we bracketed, the whole thing is going to include 2 extra stops of light at both the highlight and shadow ends of the scale. Hopefully this makes clear that our starting point for the editing process is vastly superior to just a standard file coming out of your camera.
So now let’s combine these files. How do you do this? Well, there are two ways. There is an easy way that is good, and a more involved way that is even better.
1. Photo Merge
First, the easy way. Lightroom has a process called Photo Merge that makes this process as easy as a click of a button. All you do is select your photos, right-click, select Photo Merge, then HDR+Panorama. Lightroom will then automatically combine all your files. This is a relatively new feature of Lightroom, and it makes this combination process amazingly simple.
Once Lightroom creates the preview, you can work with the edges a little bit via the Boundary Warp feature. I frequently move them just a little bit, but don’t try to fill in all the edges with that tool. You can use the Fill Edges feature (a very recent addition) so that Lightroom will fill in all that white space around the edges. Don’t worry if Lightroom gets some of this wrong because you are probably going to crop out a lot of it.
I’m going to write a separate article on the power of Photo Merge, so that’s all we will cover here for now. For many people, this will be all you need anyway. It is very simple.
2. HDR Pro
As much as I love Photo Merge in Lightroom, there is a slightly better way in Photoshop. Whereas Lightroom creates a 16-bit file, if you use the HDR Pro process in Photoshop it gives you a 32-bit file, so you get yet more data.
The problem with this approach is that it takes more steps. There is no one-step HDR+Panorama tool in Photoshop. What you have to do is run the HDR processing for each of your brackets. After that, you stitch each of these files together in either Photoshop or Lightroom. It is much more time consuming, but the result is a slightly superior file.
How should you approach this? However, you want, of course. But my way is to use Lightroom’s Photo Merge function. It is so much easier than the Photoshop method that I just cannot see devoting the extra time to it. However, if and when I have a special shot that I want to blow up, then I will take every care to improve the file, and that includes re-doing the HDR process in Photoshop.
Editing Your Super-File
Now that you have created your super-file, it is time to edit it. Basically, you just edit your photo so that it looks like you want. There are no rules here, it is just to taste. There are, however, as few things that you will want to pay close attention to, which are:
• Cropping: don’t be afraid to crop the photo to whatever size you want. Whereas when you edit one photo, you have to be worried about cropping away too much, you should have no such concerns here.
• Color Space: You choose the color space of your file on your camera and in post. You may wonder why I didn’t address it in the shooting phase, and that is because the color space on your camera is irrelevant if you shoot raw files. It doesn’t matter what your camera is set to because a color space isn’t assigned until later. If you use Lightroom, your file is automatically assigned to the Pro Photo RGB color space. Since that is the widest RGB color space, that is just file. Be sure to set Photoshop to use Pro Photo RGB as well.
[Note: If you are in one of my photography classes, you will note that this is different than what I tell you (which is just to put it in sRGB and be done with it). I use sRGB most of the time because most files get published online, and that is the file format for that. Don’t worry though, because again you always should be creating raw files, which means you can use that file – with no color space attached – and then use Pro Photo RGB if/when you bring it in Photoshop.]
• Noise Reduction: You can pretty well eliminate all problems with digital noise. To do so, I recommend you don’t use Lightroom or Photoshop for this, but rather get specific noise-reduction software. I routinely use Noiseware by Imagenomic and De-Noise by Topaz and really like them both (there are other good ones like Noise Ninja and the Nik collection filter as well). Be sure you are applying your noise reduction to a new layer. I usually do this in two steps. First, I apply a light dose of noise reduction to most of the picture, masking off only areas of very high detail or where I am sure that I have no noise issues. Then I apply a second, much higher, dose of noise reduction but only to very targeted areas. This is usually blank areas such as the sky.
• Sharpening: Apply some input sharpening up front, but don’t do any other sharpening until after you have resized the file. After you resize, apply some moderate to heavy sharpening to areas of high detail or where you want to draw the viewer’s eye. Apply it on a separate layer so you can do so selectively. When you are done with everything, consider applying a little global sharpening as well. But even then, do the sharpening on a new layer so you can mask out blank areas of your picture (such as the sky or center of clouds).
Enlarging Your File for Large Prints
Even though your file is quite large, it still might not be large enough for what you want to do with it. Here’s an admittedly rather extreme example. Let’s say you want to make a print that is 8 feet long. If you are printing at 300 ppi, that is 28,800 pixels long. If you did a 3-shot wide panorama, depending on the camera and the amount of overlap, you’d likely end up with a file about 12,000 – 15,000 pixels wide. We would need to enlarge the file significantly. Even our 5-shot examples above were about 24,000 pixels wide, so we’d need to enlarge those a bit.
You can do this rather simply and effectively in Photoshop. You just go to Image Size and set the long side to what you want and hit ok. Photoshop will quickly add pixels to the filed (the process is called interpolation) and the results will actually be pretty good. Now when you make your print, your file is sized exactly for your print size and you are all set.
I have experimented some with Topaz’s enlargement software, called Gigapixel AI (formerly Genuine Fractals). In fact, it is now what I use for all my enlargements. It has several advantages over using Photoshop. First, and most importantly, in the side by side comparisons I have done, it usually does a better job. Usually the difference is slight, but sometimes it is striking. Secondly, you can see before and after comparisons while you are setting the sizing parameters. The downside to the Topaz product is that the enlargement process takes quite a bit of time, while the Photoshop process is more or less instantaneous. Still, if you are talking about reaching for the highest quality available, I find the result is worth the wait.
Making the Large Photography Prints
Now your file is ready to print. Or at least it should be if you have calibrated your monitor and made the necessary adjustments. To make sure, I usually make small prints and make sure they look right. Frankly, I usually end up making changes as I go, so I start by making little 4×6 prints. When those look good, I make larger prints.
If you are sending your file out to a printing lab, then you need to make sure everything is right before you do. These prints can be expensive – especially if you are printing on metal or canvas or covering in acrylic. You don’t want any surprises or you will be out a lot of money. Make prints on your own as large as you are able. Examine them closely and make sure everything is perfect before you send the file.
Even if you have a large format printer and are making the final piece yourself, it pays to make small versions first. You don’t want to waste large amounts of expensive paper and ink on mistakes. Get everything perfect before you make the final piece.
The Result
When you are done, you will have a stunning piece for your home or office (or someone else’s home or office). It will be of higher quality than any single photograph can attain. The file will be larger and better quality than one created by even the most expensive cameras on the market today. Give it a try when the time comes for your next big print.