
A recent convert to manual mode recently asked about a simple way to think about which ISO to use.
There are a lot of things that require mental energy when you are shooting, and the last thing you want to be devoting your brain-space to is the ISO setting. So here is a way to simplify matters that might help you if you are just getting used to manually changing your exposure settings:
- ISO 200 – Use this as your default setting. Many photographers actually try to keep their ISO at 100, but frankly modern cameras are so good at reducing digital noise there’s really not much point in going with a lower ISO. You may as well give yourself the extra stop of light to work with, since the increase in noise will be negligible and in most cases completely undetectable. So use ISO 200 most of the time, especially on a bright sunny days.
- ISO 400 – on particularly cloudy days, or when the sun is starting to set, switch to ISO 400. You should still have no problem with digital noise at this setting if you are using a decent DSLR or mirrorless camera. This ISO setting will give you more light to work with when the light is not as prevalent.
- ISO 800 – use this ISO setting in a pinch. In other words, use this setting if it is starting to get dark, or perhaps you are going to take a picture indoors. I would not go any higher than this if you can help it.
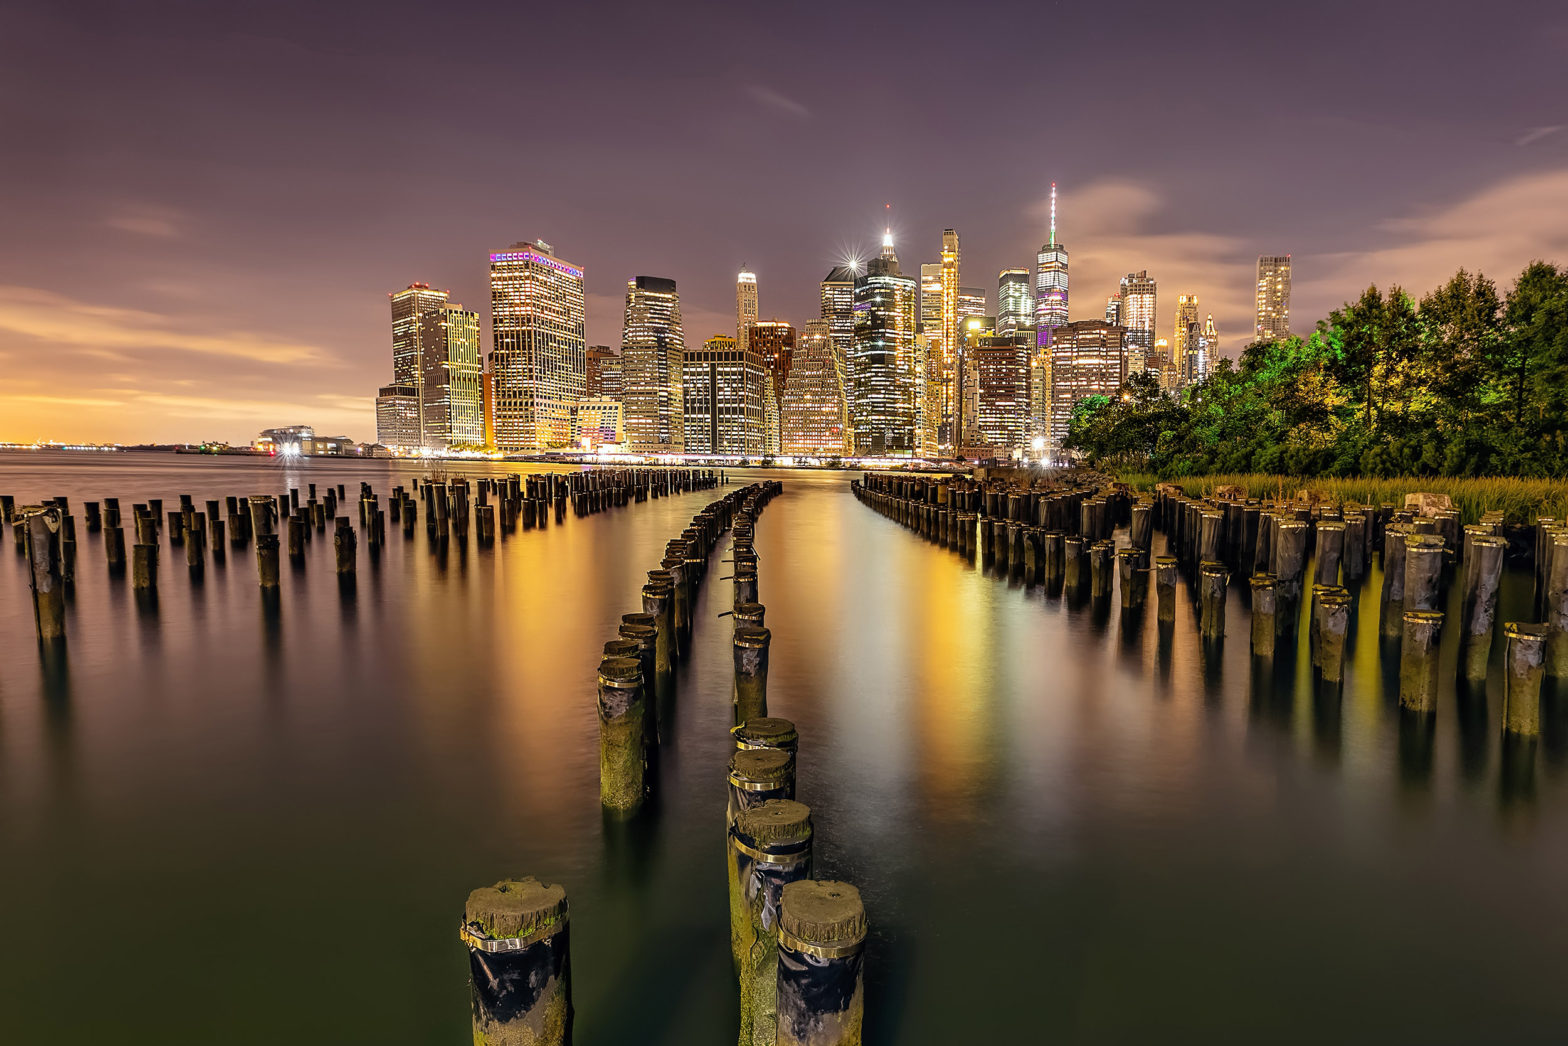
Of course, these settings all assume you are hand-holding your camera. If you have your camera on a tripod, put it on ISO 100 and leave it there unless there is a particularly good reason for changing it.
This should simply matters for you and allow you to think about other things – like your composition – when you are out shooting.