
You want to maximize the depth of field of your images. You understand, however, that shooting at very small apertures can negatively affect image quality because of diffraction. You also know that the “sweet spot” for most lenses is somewhere in the range of f/5.6 – 8.0. Wouldn’t it be nice if you could use those aperture settings and still get a really wide depth of field?
You can, if you use something called a tilt-shift lens. These are specialty lenses used primarily in architecture photography. In that context, they correct distortions that cause buildings to look like they are collapsing toward the center of the image. Many outdoor and landscape photographers have taken up their use because you can tilt the plane of focus, which allows you to keep everything sharp in the image while using a wider aperture.

So How Does This Work?
How does a tilt-shift lens accomplish this little miracle of a wide depth of field with a large aperture?
By tilting the lens.
Let me back up and explain. Normally, when you focus on something, your camera is setting the focus on that point. That has the effect of making everything at that distance from the camera sharp. The closer something is to that point, the sharper and more in focus it will be. The further way something is from that point, the less in focus it will be.
The point of focus is actually a plane. It runs up and down and right and left throughout the field of view. Normally it runs straight up and down. But when you tilt the lens (as compared to the image sensor in your camera) then you tilt that plane of focus. And if you tilt the plane of focus so that it is at the same angle at the ground, then that means that the entire ground will be in focus – even when you use a larger aperture.
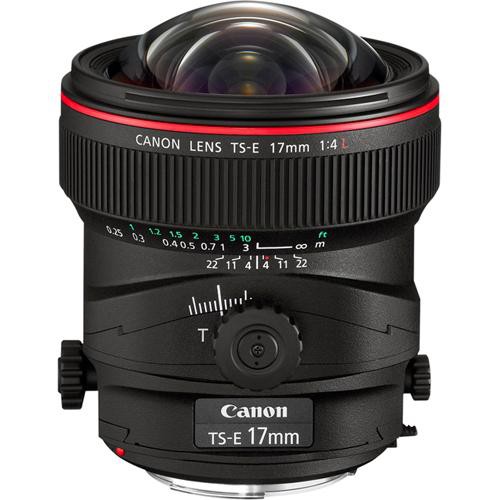
The tilt-shift lens will have a scale on the side of it that allows you to set the angle of the tilt. Make it match the angle of the ground in your image. Now your plane of focus includes the entire ground of your image. You don’t have to use a wide aperture. You can use something like f/5.6 or f/8 (even wider apertures sometimes) and everything in the image will be sharp.
My Tilt-Shift Lens Experience
When I first read about tilt-shift lenses a few years ago, I could not wait to go out and get one. Who wouldn’t want one of these magical devices? I could shoot at my lens’s “sweet spot” all the time. Other photographers raved at the sharpness and quality they got in their images. I was practically salivating.
That’s when I discovered the first problem with tilt-shift lenses. They are psychotically expensive. Most of them cost about $2,000. And that is for a single focal length, since they do not zoom.
Bummer. I couldn’t shell out that kind of cash for this deal. I was disappointed that I could not own one. But then – aha! – I remembered that you can rent lenses! And, as it turns out, both LensRentals and BorrowLenses carry 24 mm tilt-shift lenses, which is exactly what I wanted. I was in business.
So I rented a tilt-shift lens for a few weeks. At that time, I had back to back trips planned to Galveston, Texas and Acadia National Park in Maine. I rented a tilt-shift lens for the duration of those trips.
That’s when I discovered another problem with tilt-shift lenses. They are a pain in the ass. I didn’t want to spend a bunch of time fiddling with the angle settings. I like to move around and not spend a ton of time setting up one image. I discovered I really wasn’t that worried about maximizing depth of field with larger apertures. I had bigger fish to fry (composition, exposure, changing light conditions, etc.) And frankly, if I was that concerned about maximizing depth of field without using a small aperture, it is just as easy to focus stack as it is to mess with the tilt-shift.
As a result, the tilt-shift lens spent the 2nd half of the rental period in my camera bag. I sent it back and have never wanted one since.
Key Takeaways for Your Photography
Tilt-shift lenses will allow you to achieve maximum depth of field with wider apertures. That wider aperture allows you to use a faster shutter speed (since there will be more light coming into the camera) and avoid the evils of diffraction. And, frankly, most lenses work best at f/5.6 – f/8.0, so tilt-shifts allow you to use those aperture settings and still keep everything in focus, thus getting you a sharp image from front to back.
In addition, tilt-shift lenses are very high quality lenses. You will also benefit from added sharpness that you get from this high quality lenses.
Don’t forget that there are other uses for tilt-shift lenses as well. We haven’t even talked about the shifting, which is used to correct distortions in your images (typically in architectural photography). There is also the miniature effect that you can create with tilt-shift lenses, which makes a given scene look like a model.
The downsides are that they are very expensive and add an extra layer of complexity to your photography.
So is a tilt-shift right for you? There’s only one way to find out, and that is to try one out. Because of the high cost, you are better off renting one to start with. If you love it, then you can start saving your money to buy one. But if you don’t, then you can avoid shelling out a ton of dough for something you really didn’t need.